Names of magnifying devices and their components. The design of magnifying devices and rules for working with them
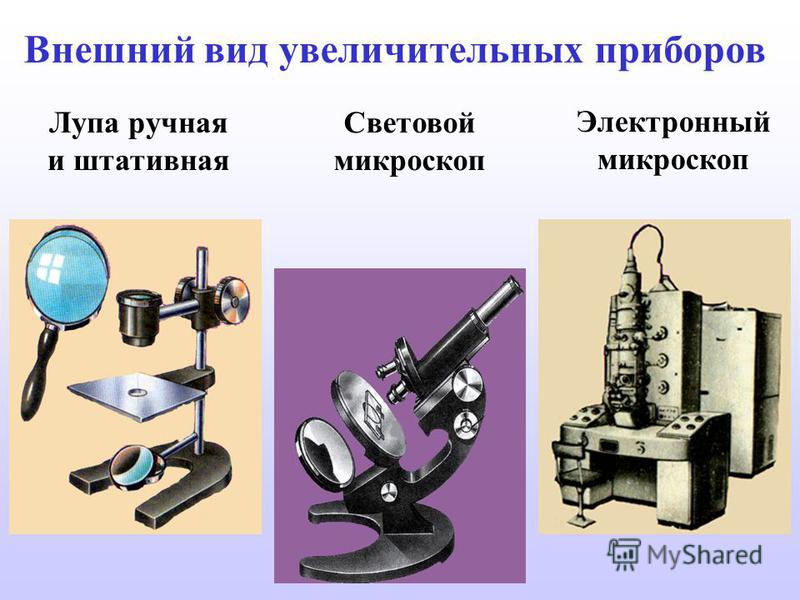
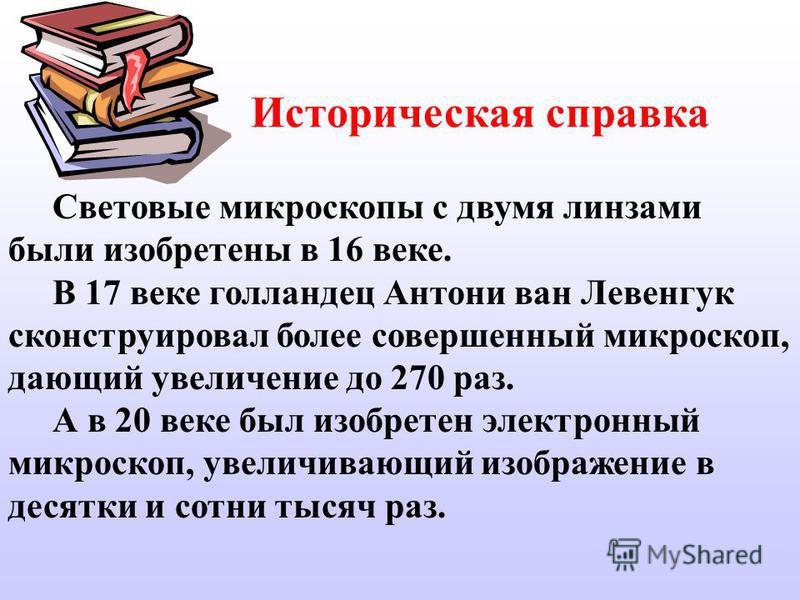
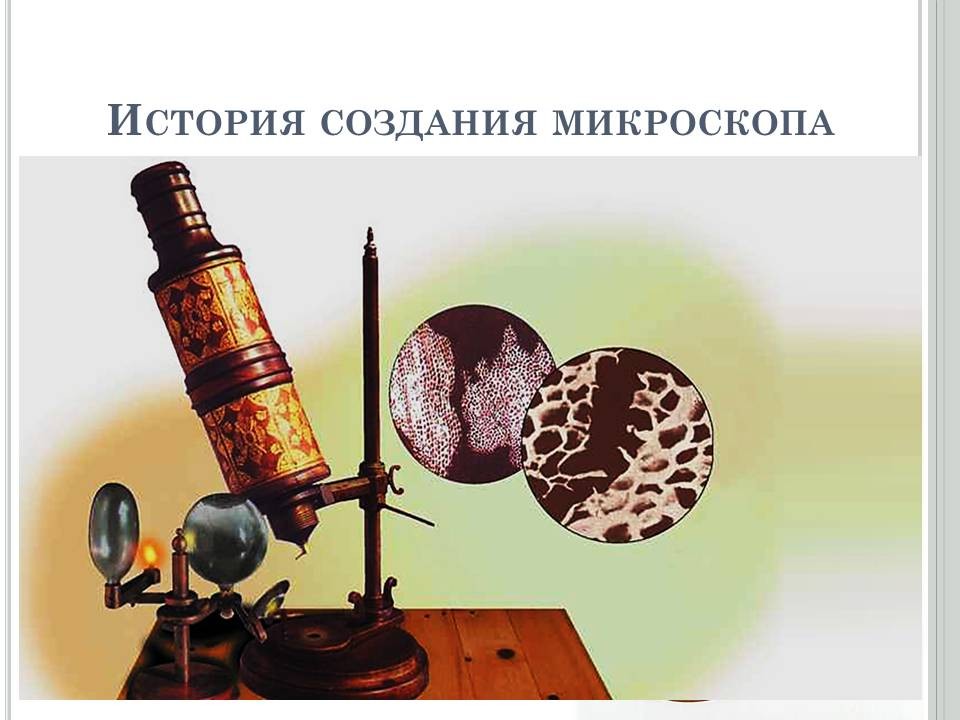
Historical reference Light microscopes with two lenses were invented in the 16th century. In the 17th century, the Dutchman Antonie van Leeuwenhoek designed a more advanced microscope, giving magnification up to 270 times. And in the 20th century it was invented electron microscope, magnifying the image tens and hundreds of thousands of times.
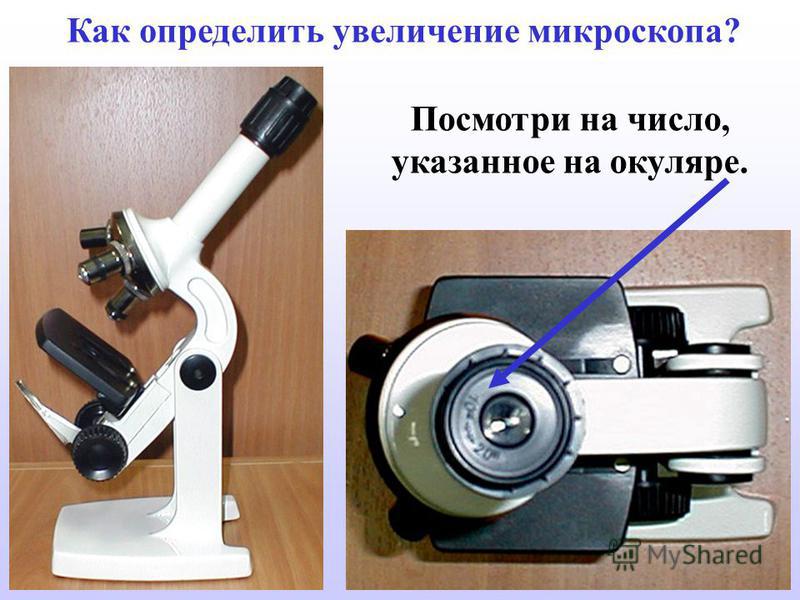
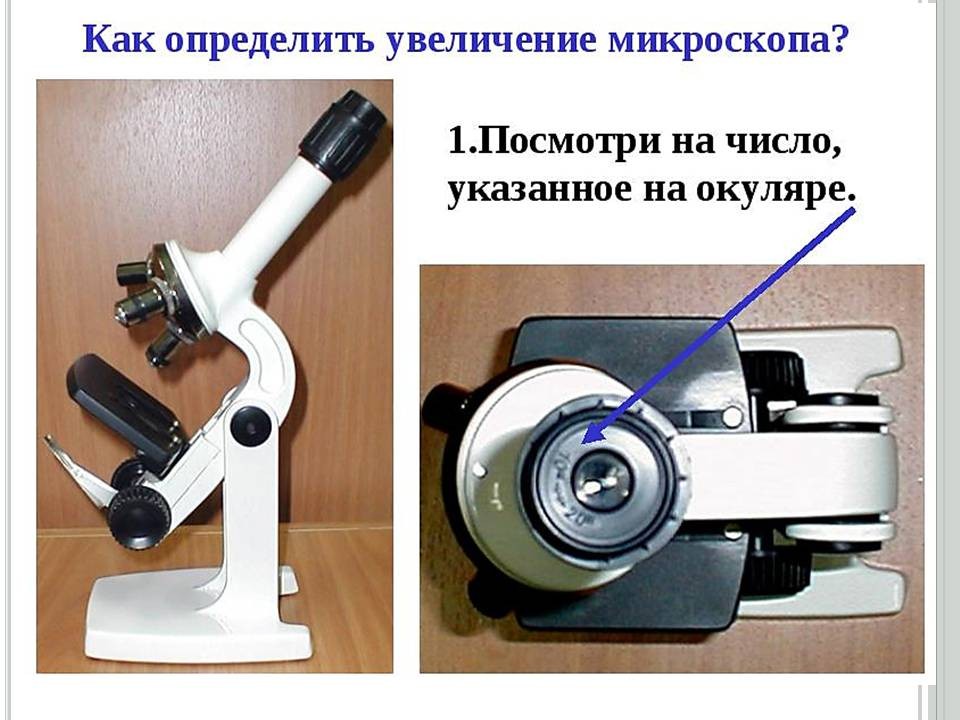
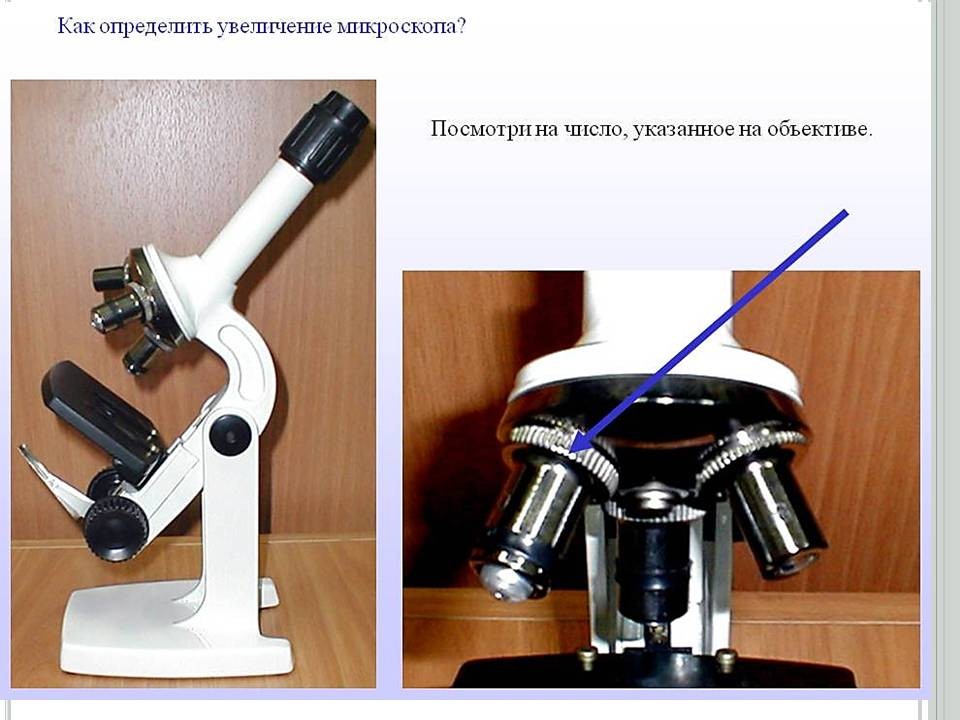
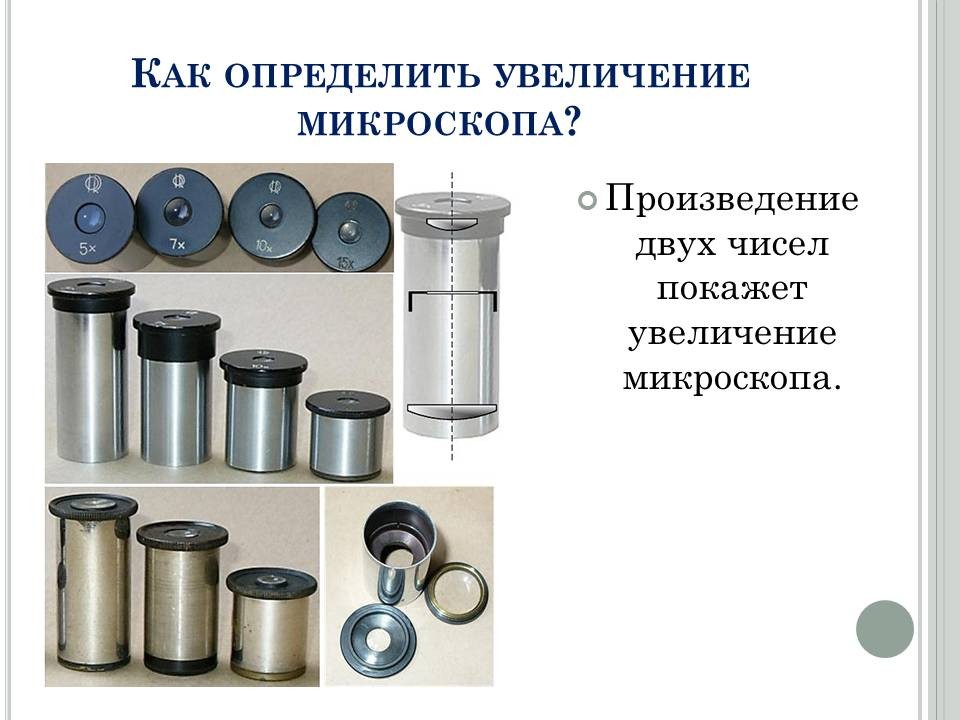
How to determine the magnification of a microscope? Multiply these numbers. The product will indicate the magnification, which in this moment gives a microscope. For our example, this is 10 x 20 = 200 times. If you move the lens or change the eyepiece (on the microscope shown, it can be smoothly rotated, changing 10 to 20), then the magnification changes accordingly. Remember this! It is important to specify the magnification when working on an object.
Rules for working with a light microscope 1. Place the microscope with a tripod facing you against your left shoulder at a distance of cm from the edge of the table. 2. Lower the telescope down 1-2 mm from the stage. 3. Direct the light using a movable mirror onto the stage. Rotate the mirror carefully, while looking into the eyepiece, achieving illumination that is comfortable for the eye: not “striking”, but not “cloudy”.
4. Place the finished preparation on the stage opposite the hole in it. Clamp the slide with clamps. 5. Look into the eyepiece with one eye without closing or squinting the other. 6. While looking through the eyepiece, use the screws to raise the telescope very slowly until you can see a clear image. 7. After use, put the microscope in its case.


 Back forward
Attention! Slide previews are for informational purposes only and may not represent all the features of the presentation. If you are interested this work, please download the full version.
The lesson is part of the section “Cellular structure of the body.” The work program is compiled on the basis of the Law of the Russian Federation “On Education”, Federal State Educational Standards of Basic General Education, the general education program in biology for grade 5 “Biology. Bacteria, fungi, plants” edited by V.V. Pasechnik. Textbook for general education institutions, edited by Professor V.V. Pasechnik “Biology. 5-6 grades.” Moscow “Enlightenment”, 2012.
Venue: biology classroom.
Didactic goals (for the teacher): creating conditions for each student to acquire knowledge on the topic of the lesson.
Goal (for students): developing knowledge about the device magnifying devices and rules for working with it.
- Educational: introduce students to material about the history of discovery and the design of magnifying instruments, the rules of working with a microscope.
- Educational: maintain students’ sustainable interest in knowledge, cultivate a sense of responsibility for the result of their work, continue to work on the formation of communication and reflective qualities.
- Developmental: continue the development of logical thinking, teach the ability to highlight the main thing, summarize and transform the information received.
Methods and methodological techniques: visual (demonstration of presentation, magnifying devices), verbal (explanation of the rules for working with magnifying devices, safety instructions when working with glass equipment), work with individual knowledge control sheets, performing practical work, posing a question of problematic content, work in pairs, independent work in individual knowledge control cards, a method of independently solving calculation problems, practical.
Type of lesson (in accordance with Federal State Educational Standards LLC): discovery of new knowledge. Using them in practice during laboratory work.
Equipment for the teacher: interactive complex, PC, multimedia presentation.
Equipment for students: magnifying glass, light microscope, ready-made microspecimen, textbook.
Formed UUD:
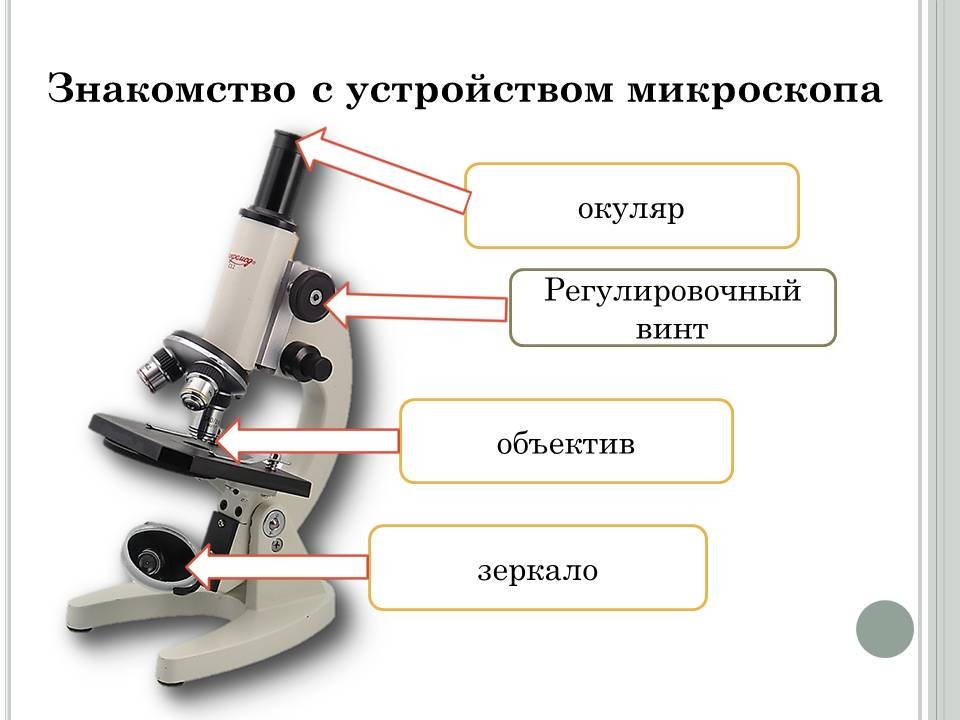
- Cognitive UUD: definition key concepts: lens, eyepiece, tube, tripod, stage, mirror; independent formulation of goals, putting forward proposals for the problem at hand.
- Communicative UUD: planning educational cooperation with the teacher and students, carrying out joint cognitive activities in pairs.
- Regulatory UUD: the ability to give self-evaluation of one’s actions, to correlate what is known with what is not yet known, the ability to transform information from one type to another.
During the classes:
1. Organizational moment. Hello guys, sit down. Today we will begin to study the amazing world invisible to the ordinary eye.
2. Updating knowledge. You know that in nature there are kingdoms. Please name these kingdoms?
Children's answers: Kingdoms of Bacteria, Fungi, Plants, Animals and Viruses.
Teacher question: You can see the organisms of some Kingdoms with the naked eye, but not others. Whom do we not see, but know that they exist?
Children's answers: bacteria and viruses.
Teacher: That's right, and we also cannot see some very small single-celled animals, plants and fungi without magnifying devices. The topic of today's lesson: the design of magnifying devices (slide 1).
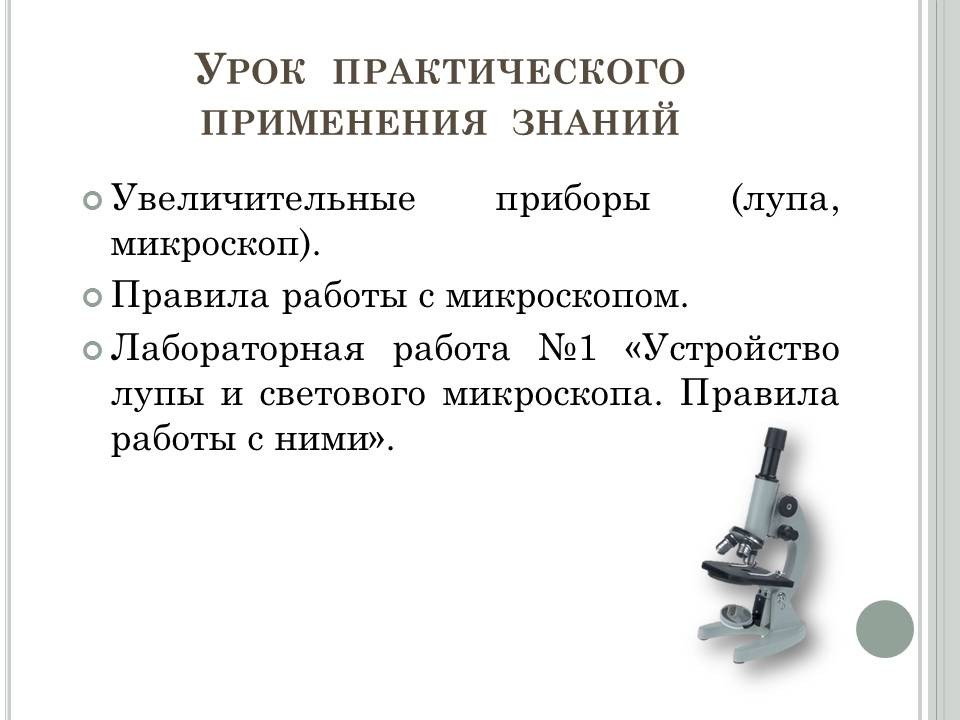
This lesson will interesting topics that the knowledge you gain in class can be immediately applied in practice! (slide 2).
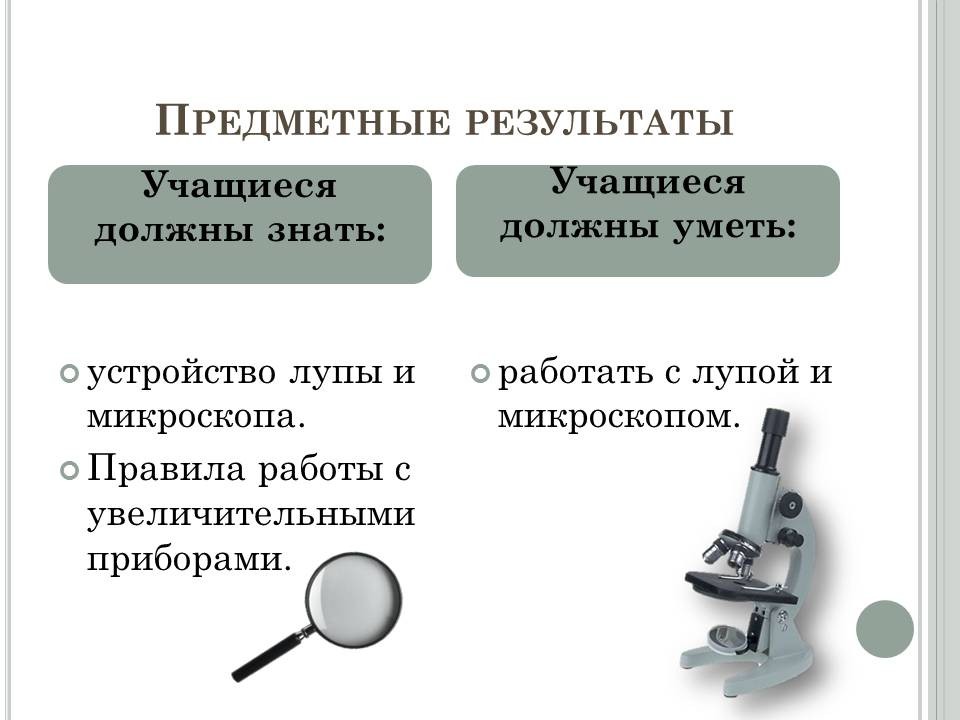
At the end of the lesson you should know the structure of a magnifying glass and a microscope. Rules for working with magnifying devices. Be able to: work with a magnifying glass and a microscope (slide 3).
3. The stage of assimilation of new knowledge and methods of action.
So, we begin laboratory work (slide 4). Since this is your first laboratory work, I draw your attention to the fact that first we write down in the notebook the title of the laboratory work “Design of a magnifying glass and a light microscope. Rules for working with them.” Each work indicates the purpose of the laboratory work:
- study the structure of a magnifying glass and a microscope,
- get acquainted with the rules of working with a microscope.
We will carry out the work with you in stages (slide 5).
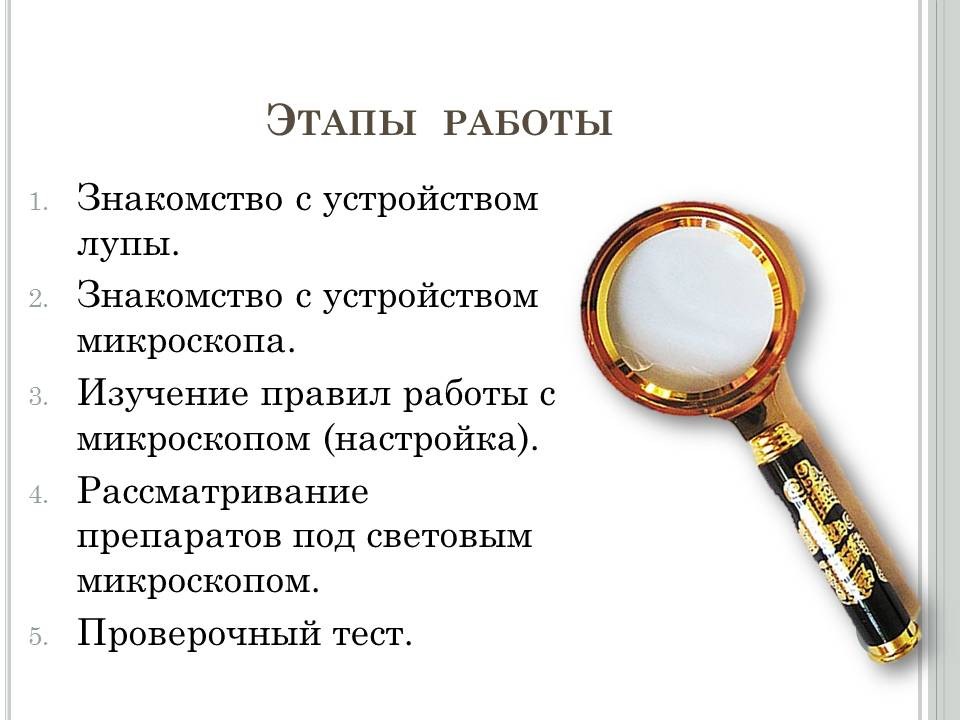
Stages of work:
- Introduction to the magnifying glass.
- Introduction to the structure of a microscope.
- Studying the rules of working with a microscope (setup).
- Examination of preparations under a light microscope.
- Screening test.
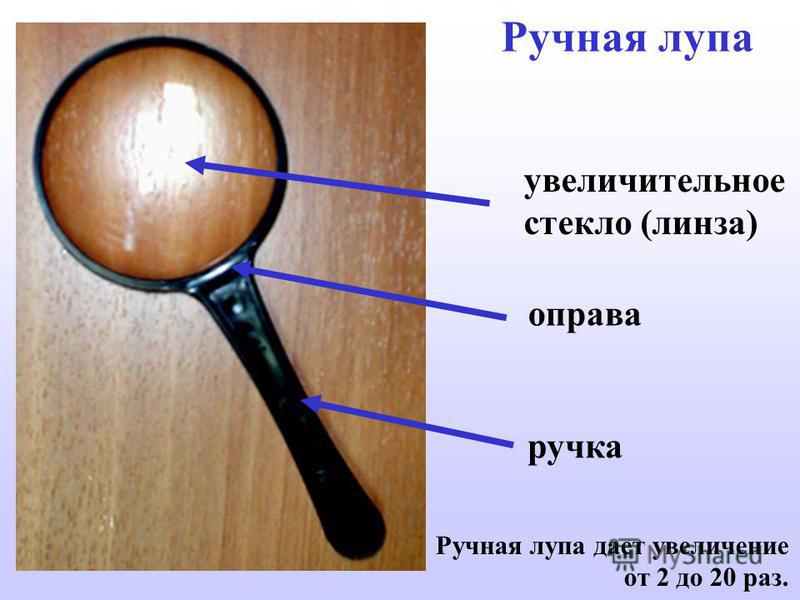
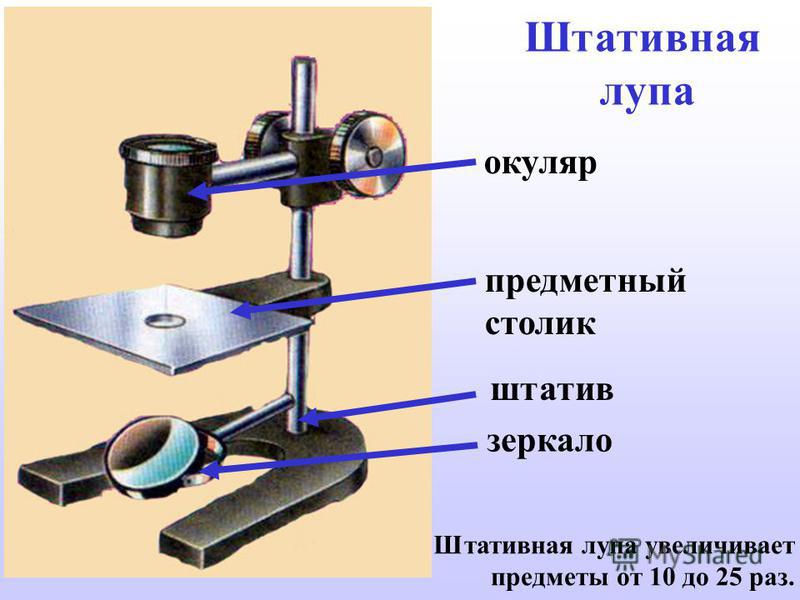
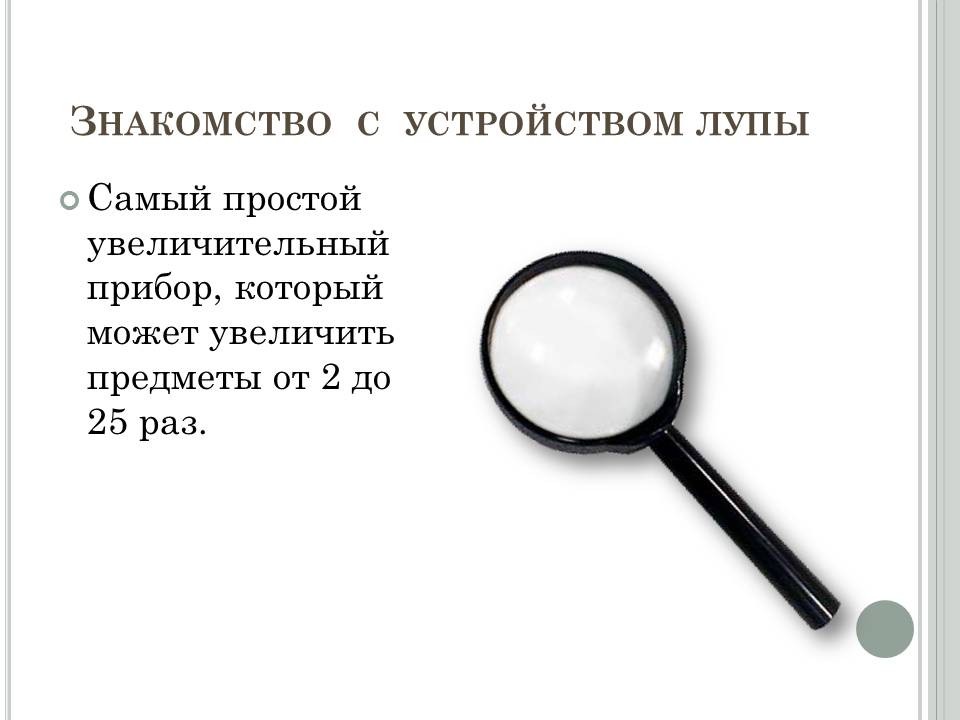
(Slide 6) we begin our acquaintance with the simplest magnifying device that you may have already encountered - a magnifying glass. Looking through a magnifying glass. We will be able to see living organisms magnified from 2 to 20 times.
(Slide 7) You have magnifying glasses on your desks, let's look at the parts of the magnifying glass.
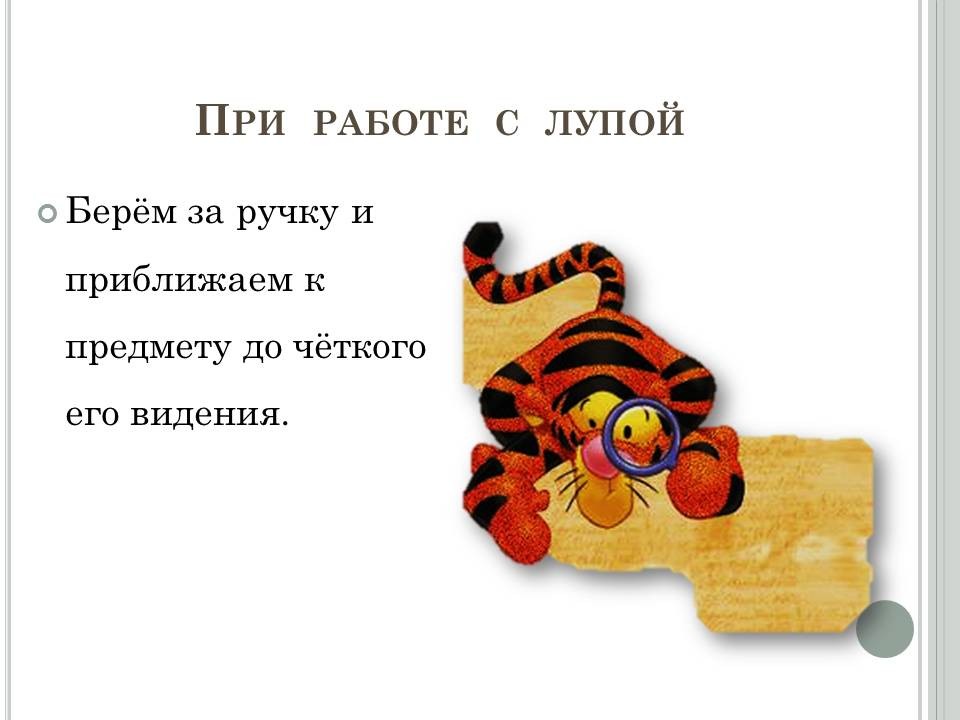
The rules for working with a magnifying glass are very simple: Take it by the handle and bring it closer to the object until you can see it clearly (slide 8).
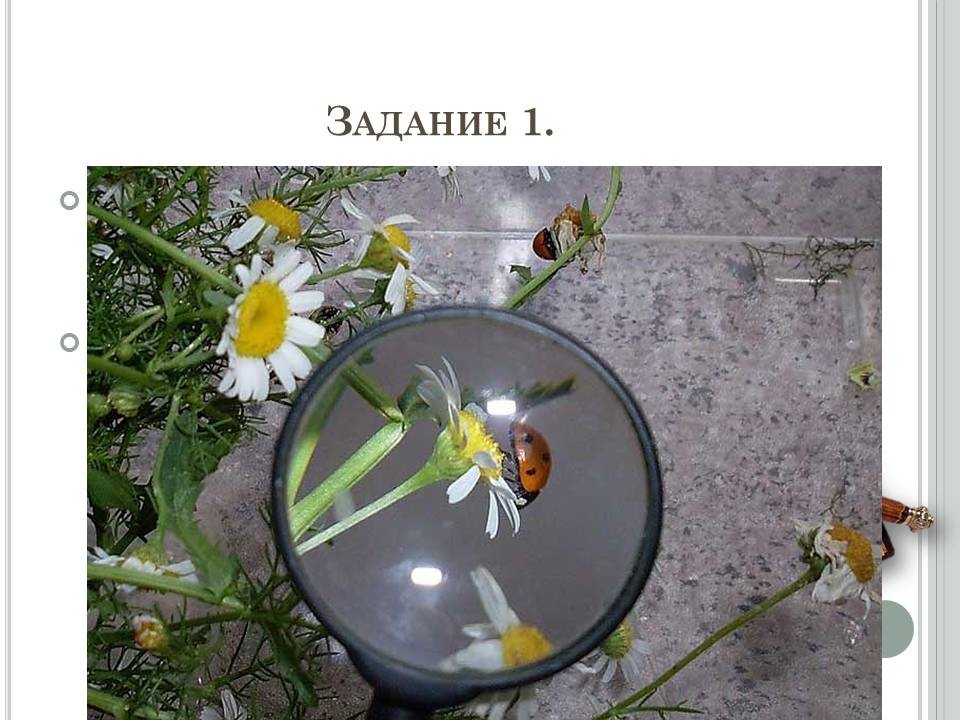
(Slide 9). Now, knowing the structure of a magnifying glass and the rules for working with it, complete the task: Take the magnifying glass and look at the text in the textbook.
Guys, please answer the question: what objects can be considered if you are a scientist - biologist.
Presumable answers from children: small insects, flowers.
(Cry). Indeed, you are right, with the help of a magnifying glass you, as young researchers, can examine small animals and plants in more detail.
(Slide 10). And now we begin to get acquainted with the microscope.
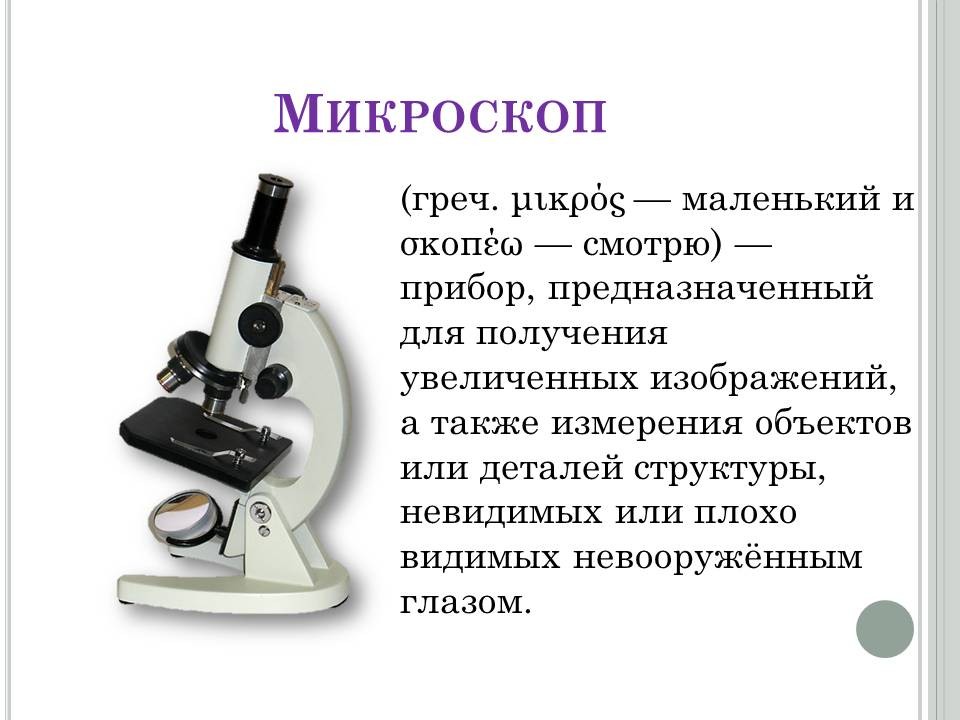
Microscope translated from Greek language- small and looking - a device designed to obtain magnified images, as well as measure objects or structural details that are invisible or difficult to see with the naked eye.
(Slide 11). In fact, it is very difficult to name the first inventor of the microscope, because in the 16th century many people were interested in grinding glass. In 1595, Zacharius Jansen mounted two convex lenses inside a single tube, thereby laying the foundation for the creation of complex microscopes. Robert Hooke Using the microscope he improved, he observed the structure of plants and gave a clear picture that for the first time showed the cellular structure of the elderberry plug. He also coined the term “cell” in 1665.
(Cry). On the slide you see Robert Hooke's microscope and cells as he first saw them.
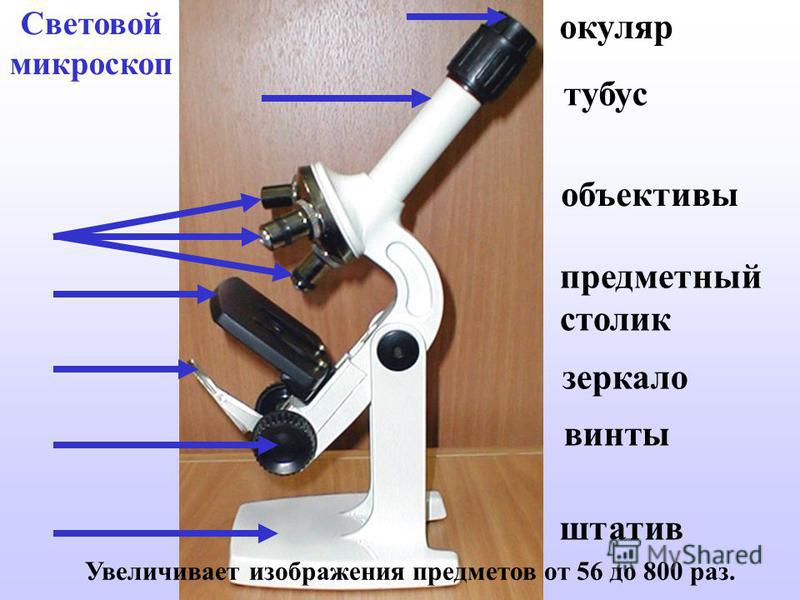
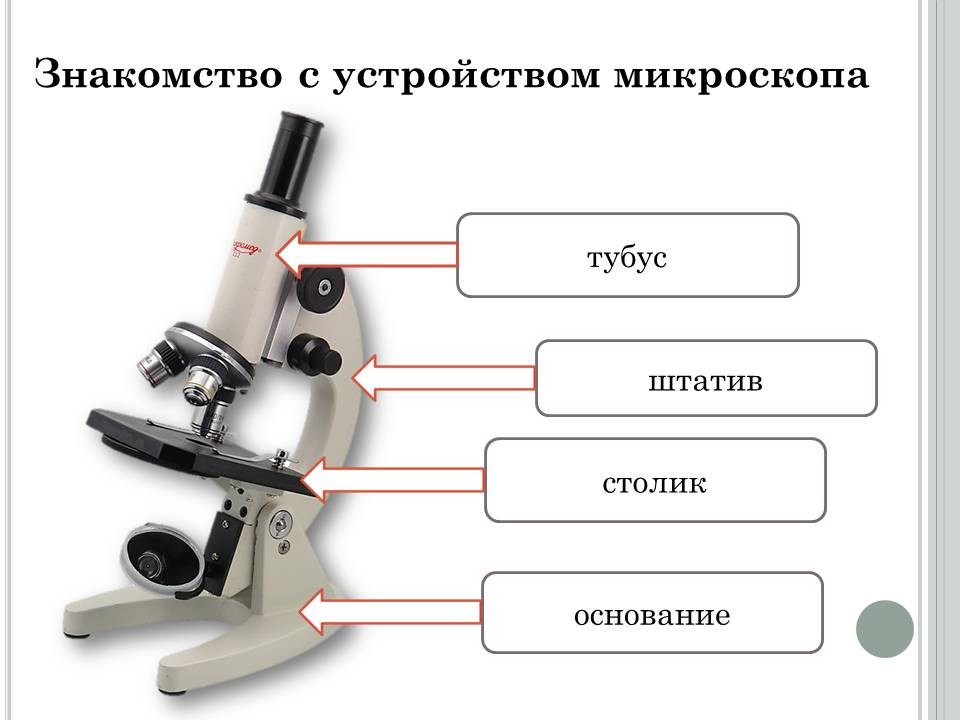
(Slide 12 and 13). Time to start studying the structure of the microscope. Our school microscope consists of a mechanical and optical part.
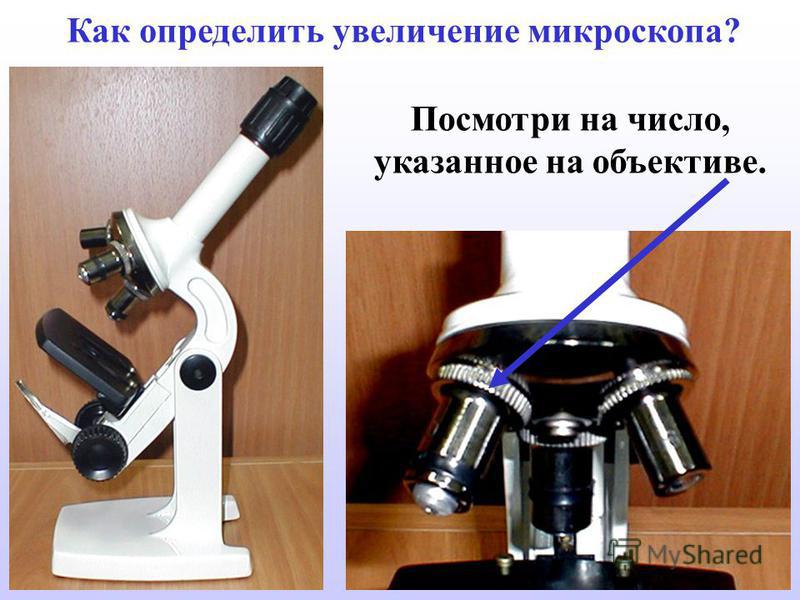
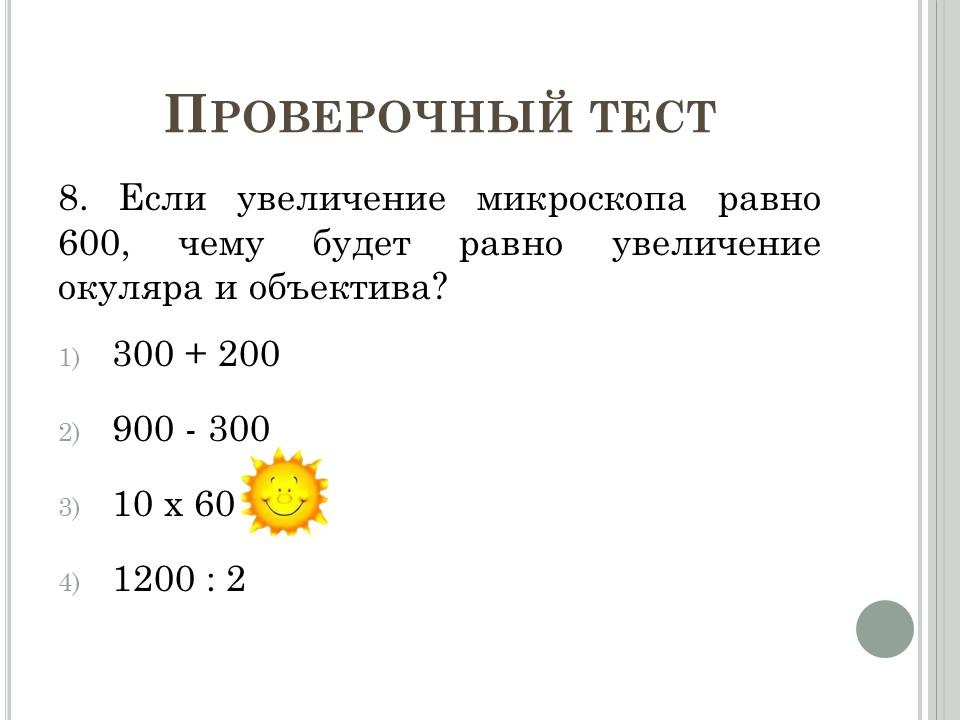
(Slides 14 and 15). In order to find out the magnification of a microscope, you need to multiply the number on the eyepiece by the number on the lens.
Slide 16. So, the product of two numbers will show the magnification of the microscope.
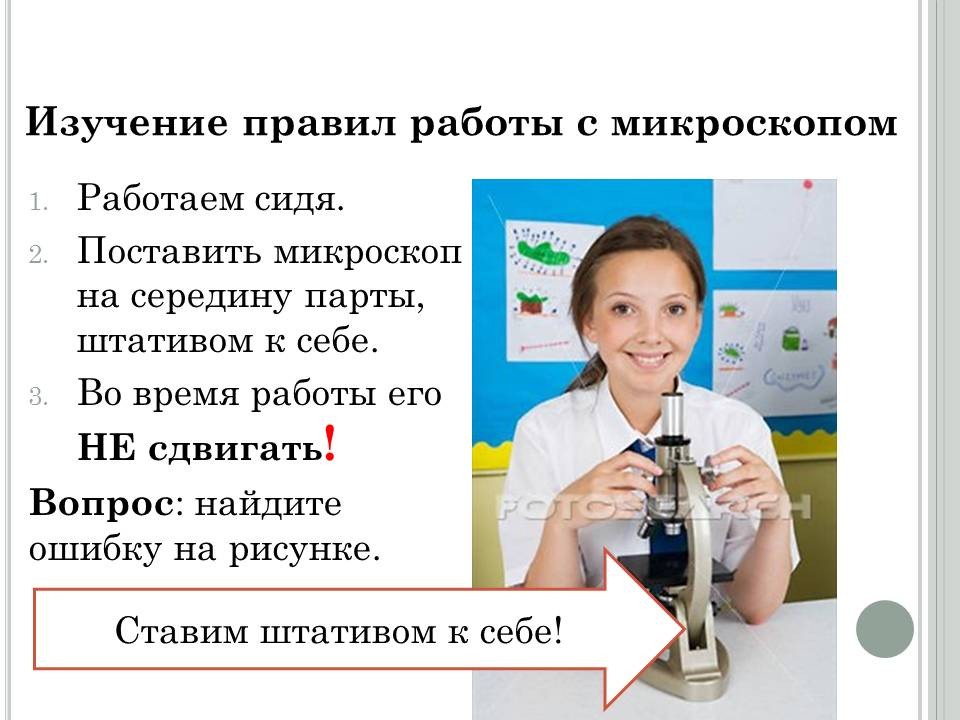
Slide 17. Guys, let's start learning the rules of working with a microscope. It is very important that we work while sitting at our desk. You need to place the microscope in the middle of the desk, with the tripod facing you. Please note that it CANNOT be moved during operation! Look at the slide and find the mistake in the picture. Children's answer: put the tripod towards you.
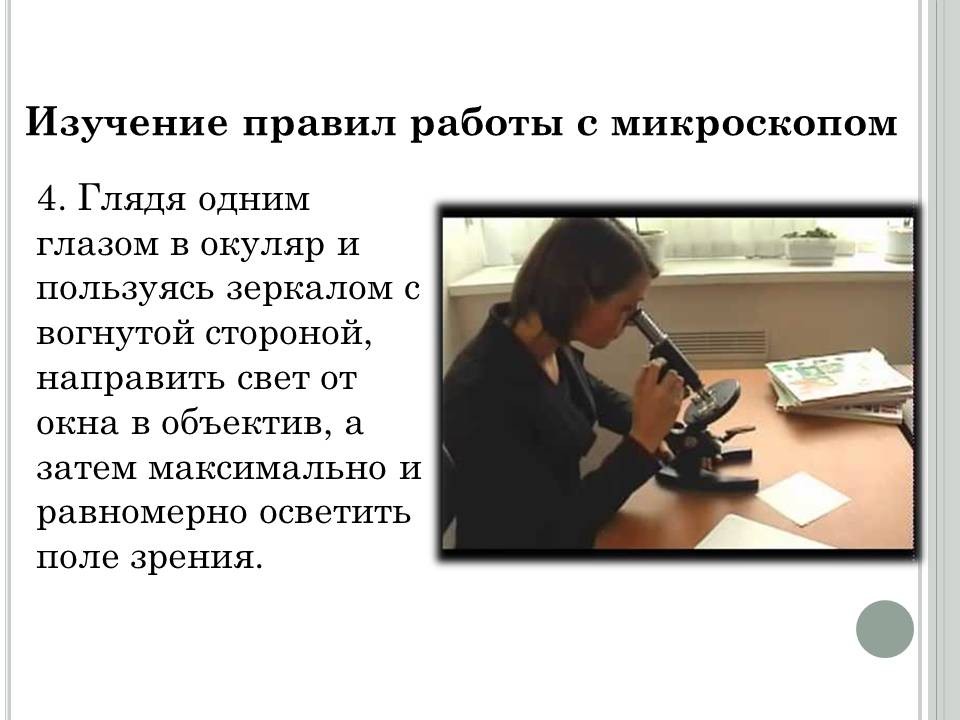
Slide 18. Well done! We continue our acquaintance with the rules of working with a microscope. Looking into the eyepiece with one eye and using a mirror with a concave side, direct the light from the window into the lens, and then illuminate the field of view as much as possible and evenly.
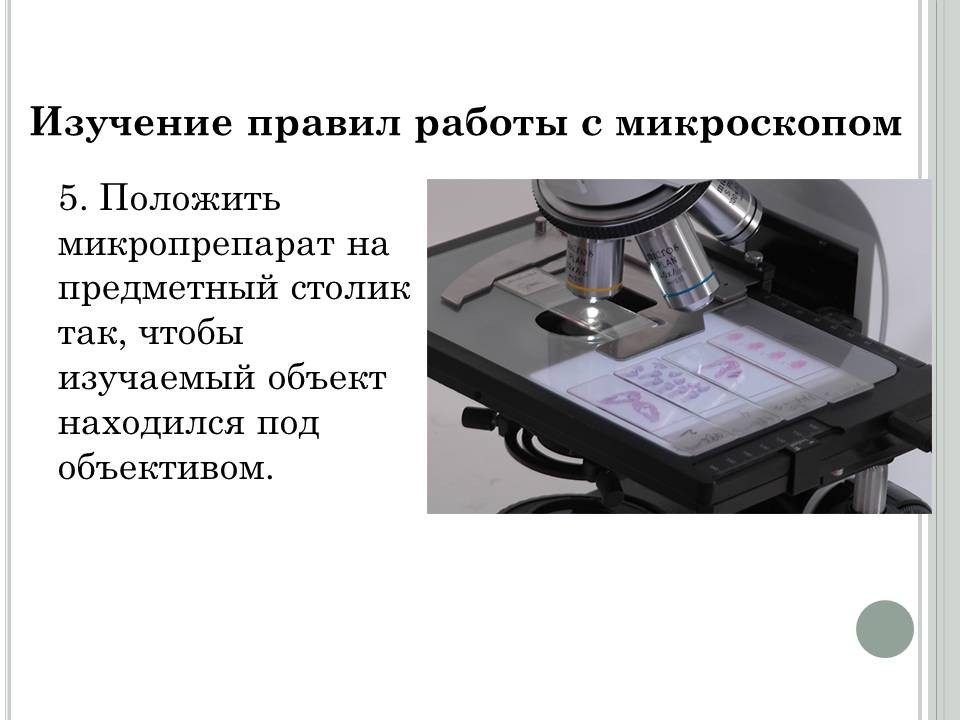
Slide 19. Place the microspecimen on the stage so that the object being studied is under the lens.
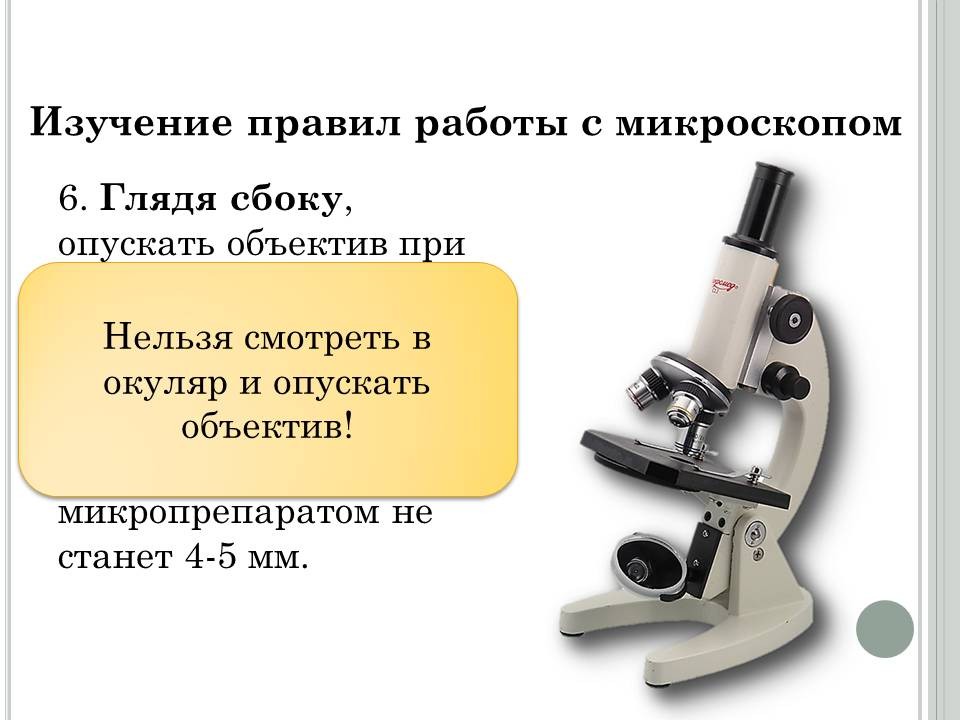
Slide 20. Looking from the side, lower the lens using the macroscrew until the distance between the lower lens of the lens and the microspecimen becomes 4-5 mm. Think about why you can’t lower the screw while looking through the eyepiece? Children's answer: you can crush a glass slide.
Slide 21. In front of you is a microscope, prepare it for work, following all safety rules when working with a microscope. We begin the most interesting part: examining microscopic specimens under a light microscope.
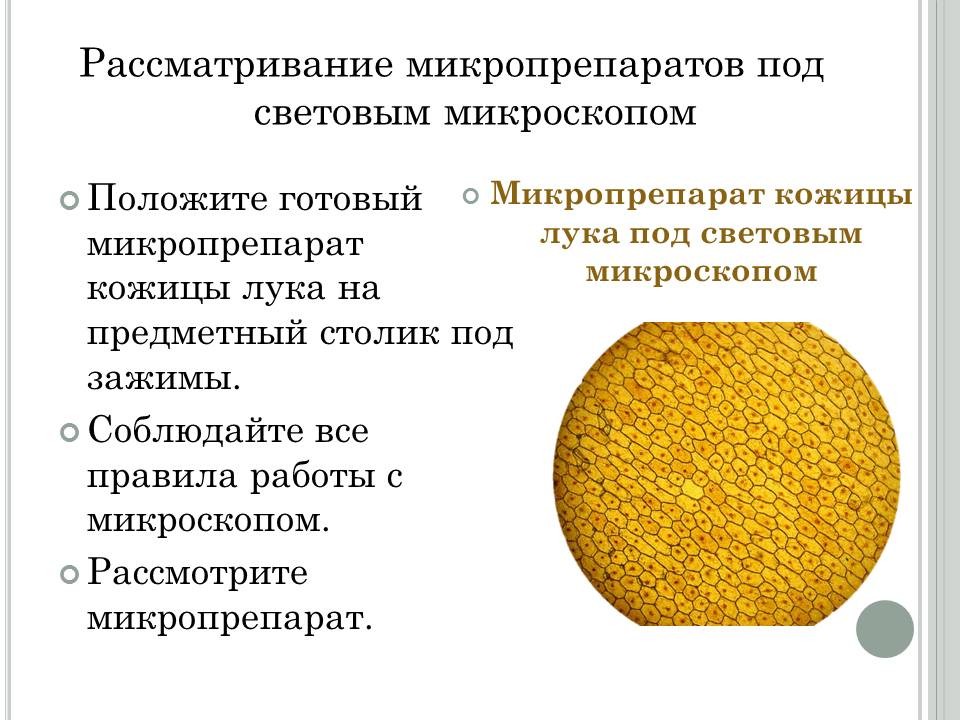
Place the prepared microspecimen of onion skin on the stage under the clamps.
Examine the microslide. What did you see? Children's answer: cells.
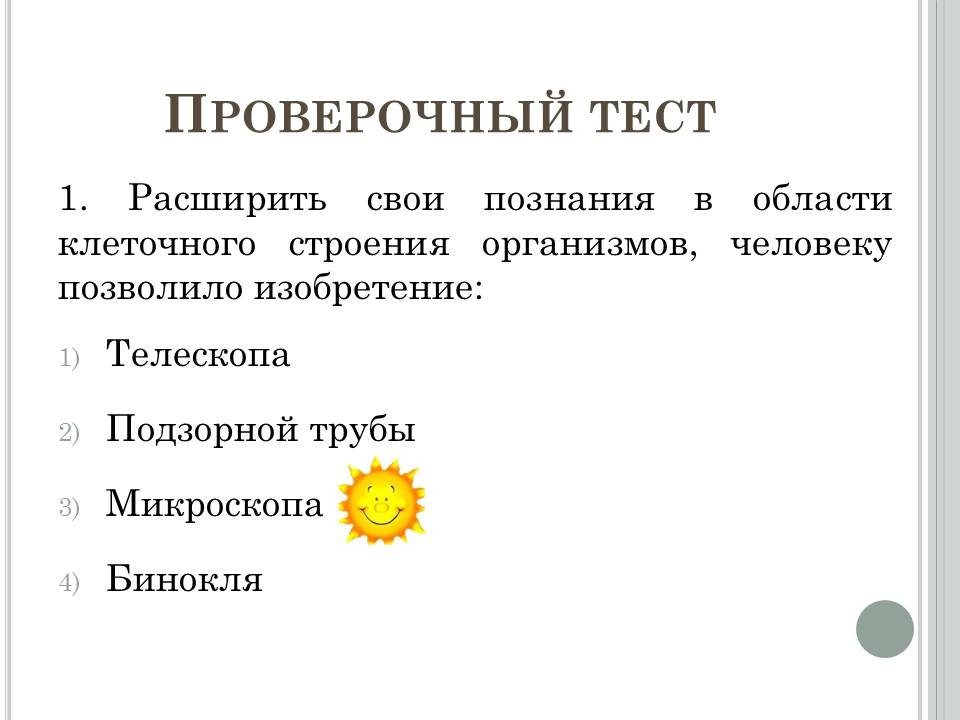
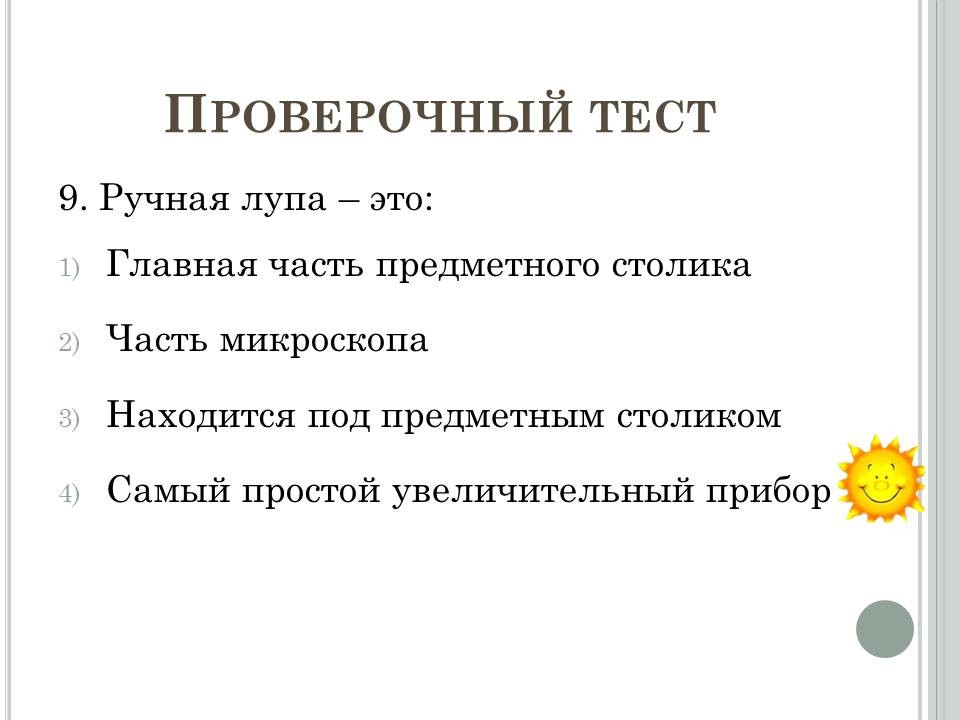
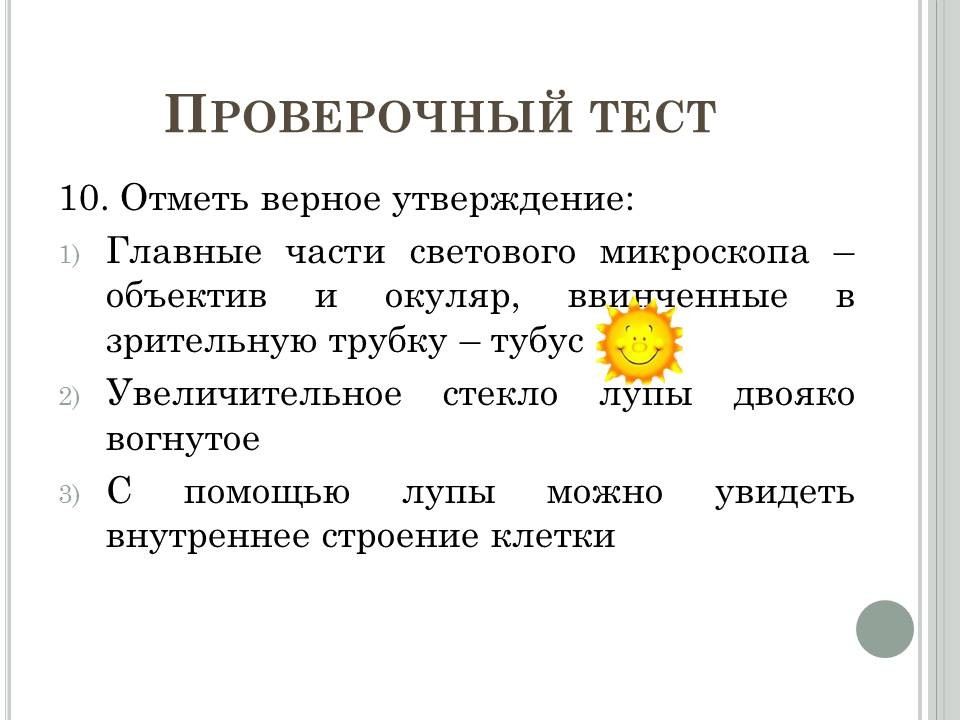
Let's get started screening test. Slides 23-31.
Slide 32. Homework: Questions after paragraph 6.
Thank you for your attention!
Literature
1. Pasechnik V.V. Biology. Bacteria. Mushrooms. Plants. 5th grade. Textbook / M.: Bustard, 2014.
2. Pasechnik V.V. Biology. Biology. Bacteria, fungi, plants. 5th grade. Workbook for the textbook by V.V. Beekeeper. Unified State Exam test tasks. Vertical / M.: Bustard, 2014.
3. Pasechnik V.V. Biology. Bacteria. Mushrooms. Plants. 5th grade. Toolkit/ M.: Bustard, 2014